 Segmentit team
To turn a photo into a 3D object for Blender, generate a model first, then import its GLB file. Adding a reference image in Blender does not automatically reconstruct its volume. This guide covers the transfer and checks, without promising a mesh ready for every use.
Get a GLB from your photo
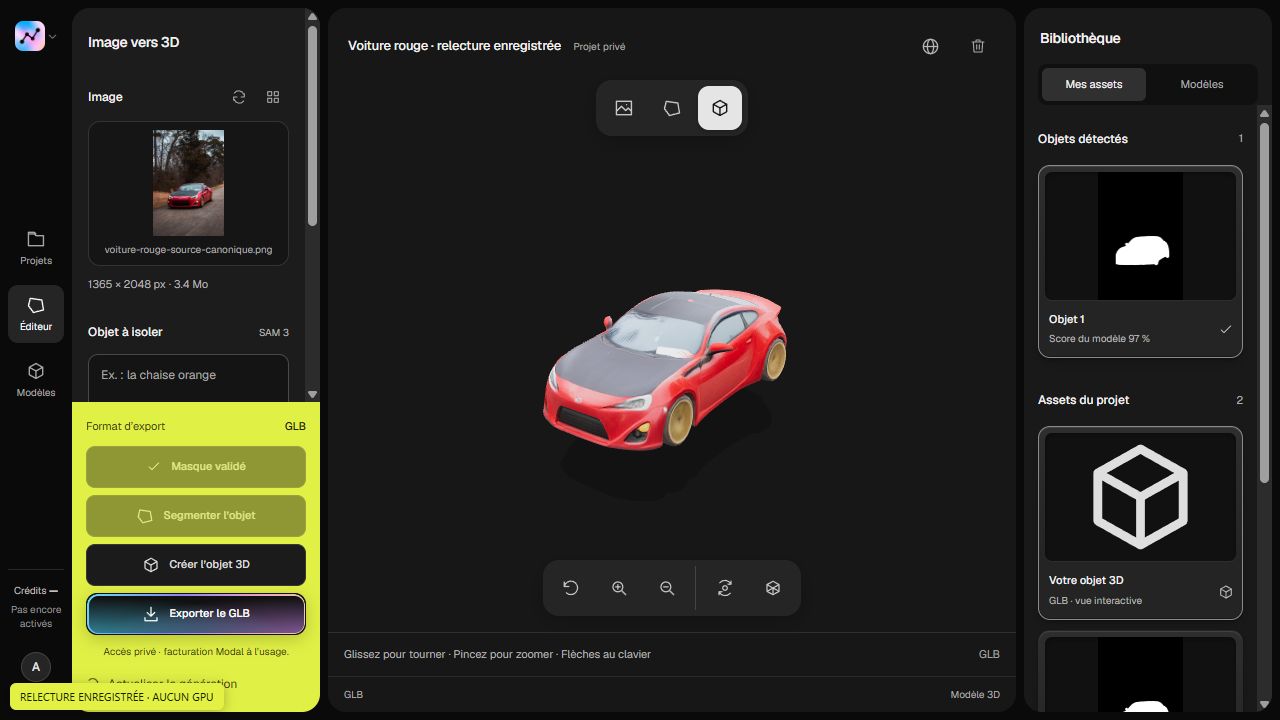
In Segmentit Studio, upload a photo you are allowed to use, select the object and refine its mask. Check the displayed cost before generating: 3D reconstruction is paid and uses credits. Rotate the result, then download the available GLB.
The photo-to-GLB page explains this workflow. The SAM 3D without local installation guide compares hosted options. Segmentit runs reconstruction on a server; the following steps require Blender installed on your computer.
Import the file into Blender
- Save your current work, then open a working scene.
- Choose File → Import → glTF 2.0 (.glb, .gltf) and select your GLB. Menu labels may vary with Blender’s interface language.
- Find and select the object in the Outliner, then use View → Frame Selected to bring it into view.
- Switch to Material Preview to inspect materials and orbit around the object.
See the Blender glTF manual for import details and the navigation guide for framing a selection.
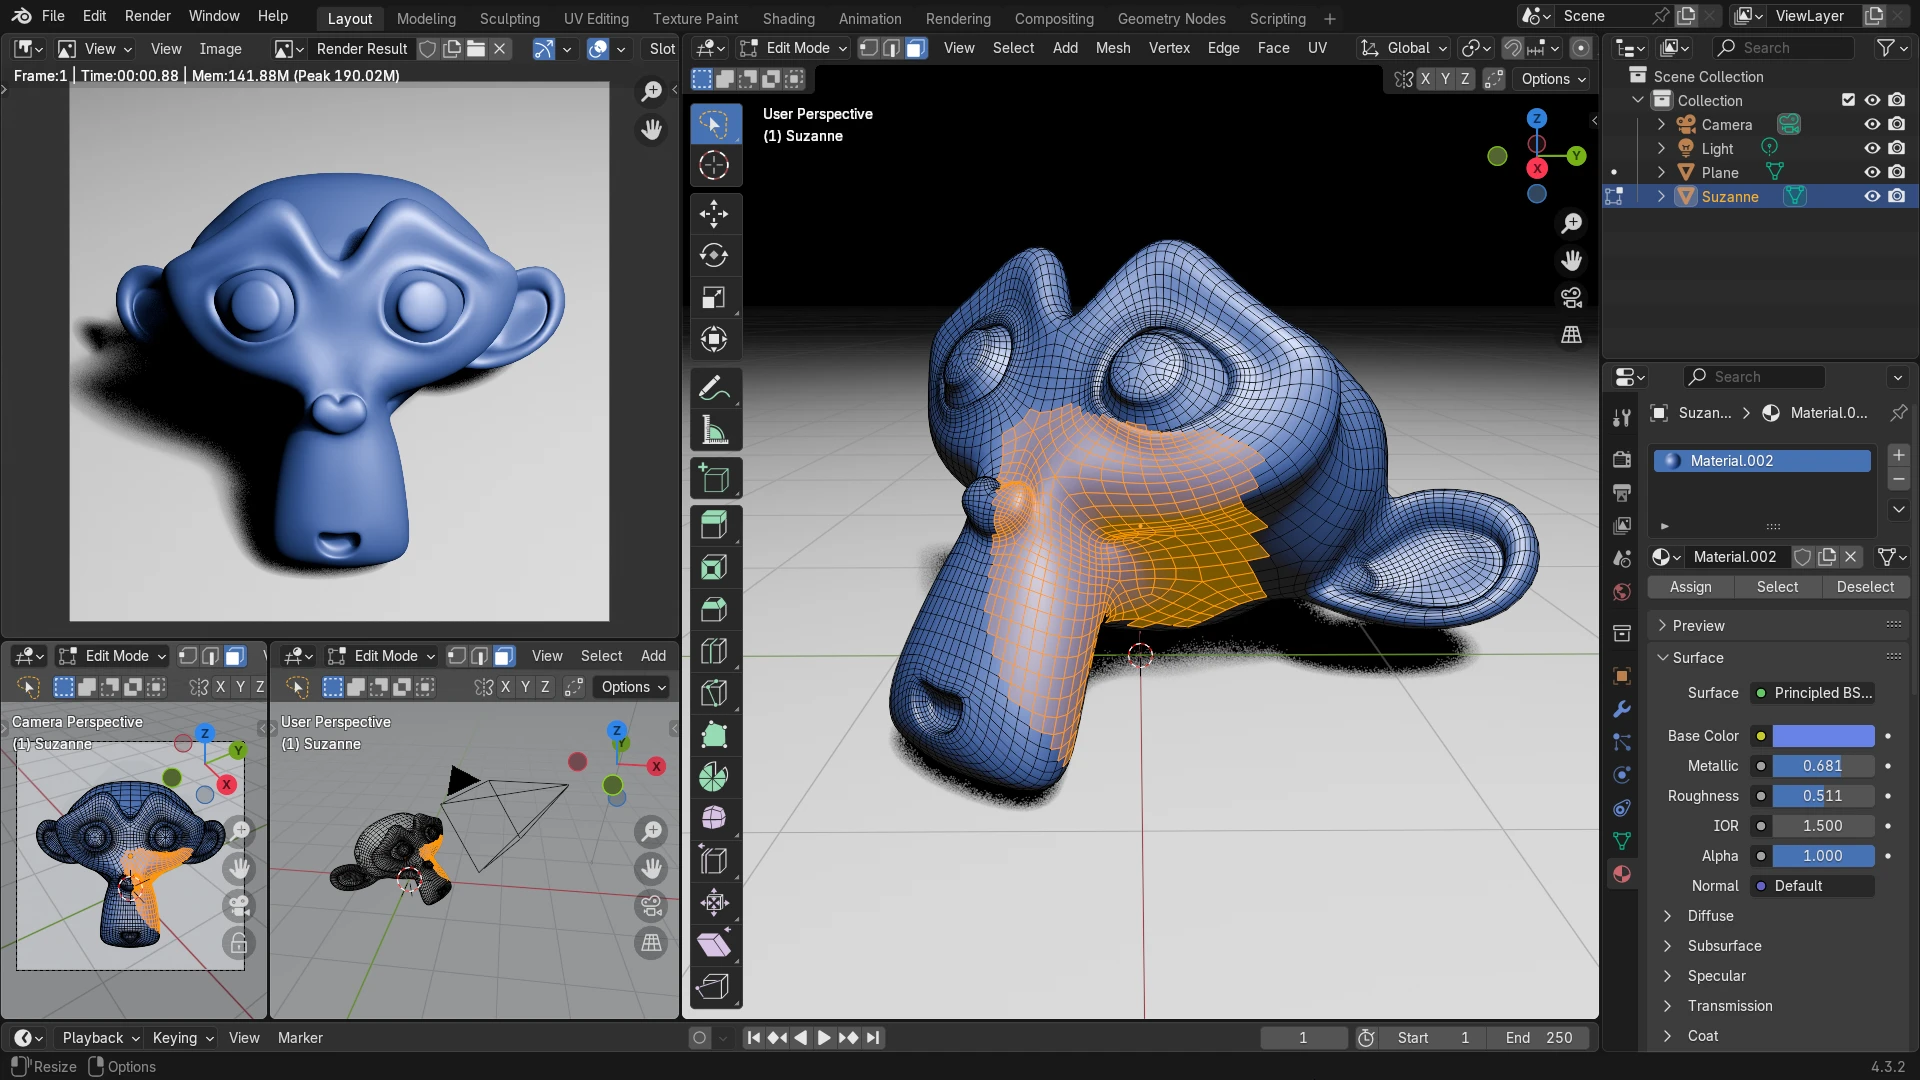
The screenshot below shows Suzanne, Blender’s sample model: a render on the left and the mesh on the right. It illustrates appearance versus geometry, not a model generated by Segmentit.
Check the object before adding it to your scene
- Hidden surfaces: inspect the back, underside, openings and thin parts; the photo does not supply these surfaces.
- Scale: compare dimensions with a known measurement. Single-photo reconstruction is not a measured survey.
- Materials: compare the appearance from different angles and under different lighting.
- Geometry: check whether distortions, mesh density and connections suit your scene. Manual editing may be needed.
Use the model inspection checklist for further checks.
Choose an image, isolate an object and prepare your next steps in the Studio.
 Segmentit
Start now.
30+ creatorsStudioIf the model does not look right
| Symptom | First check |
|---|---|
| The object seems missing | Find it in the Outliner, check visibility and frame the selection. |
| The object looks grey | Try Material Preview; if needed, inspect materials and their image textures. |
| The size looks wrong | Check dimensions and scale before placing the object. |
| The back is distorted | Inspect geometry; a different display mode cannot recreate missing surfaces. |
You can also open a compatible GLB in Orbit, our free viewer. A difference between the views can help narrow down the issue; it does not by itself prove that the file is faulty.
Keep a starting point for the next object
Keep the original GLB and save your working scene as a .blend file. For another object, prepare a separate selection in the Studio. Editing the mask after generation does not update the GLB: another reconstruction requires another paid computation.
A pack may suit an occasional project; compare subscriptions and packs if you regularly prepare new objects. Downloading does not itself grant commercial rights: check the terms and the rights to your source photo.