 Segmentit team
There are three common ways to turn a photograph into the starting point for a 3D model: let AI estimate the object, reconstruct it from overlapping photographs, or model it by hand using the image as a reference. They answer different needs.
Before choosing software, ask three questions: Do you only have one photo? Can you photograph the real object again? Must the result match measured dimensions? A recognizable prop for a prototype and a faithful record of an object need different evidence. This guide helps you choose the method; the photo-to-3D guide covers the next steps once you choose single-image generation.
Three ways to build the model
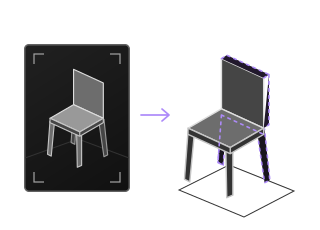
Estimate
A single photoHidden surfaces remain assumptions.
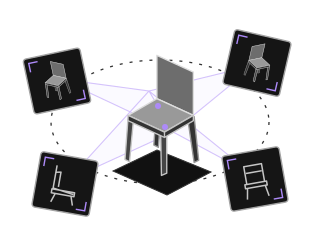
Cross-reference
Overlapping viewsEach angle adds information about the object.
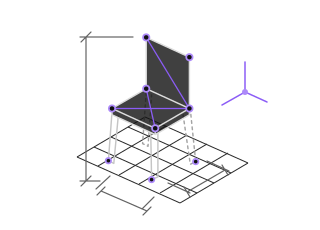
Build
References and dimensionsThe person modeling defines the geometry.
Conceptual diagrams, not reconstruction results.
Single-photo AI estimates a complete object from one image. For example, the SAM 3D research paper describes predicting geometry, texture and layout. The photograph guides the result, but hidden surfaces remain estimates. This is useful when a plausible shape is enough to explore an idea and you can inspect and adjust the output.
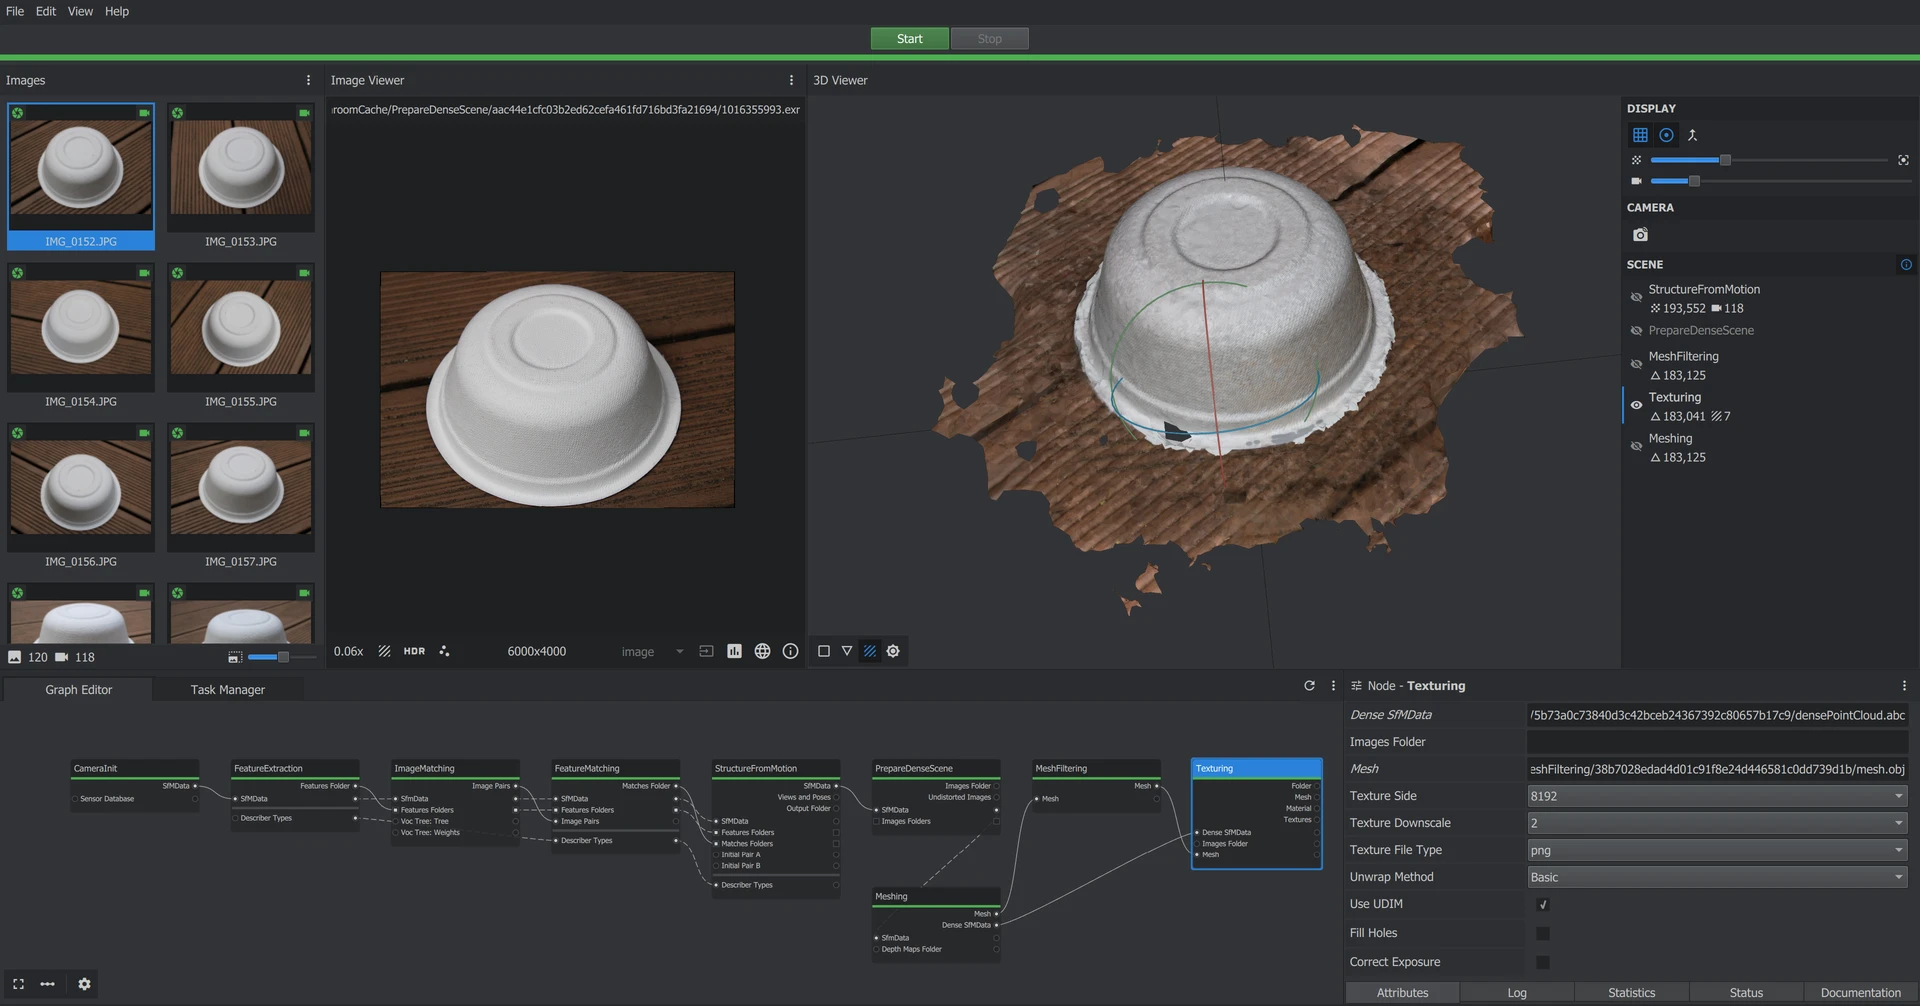
Photogrammetry uses overlapping views of the same physical subject. Adobe’s explanation of 3D capture describes matching image features across views. The important difference is the source of evidence: you capture more sides of the object instead of asking one image to describe them all. Gaps in coverage still need attention; a filled hole is not proof of what the real surface looked like.
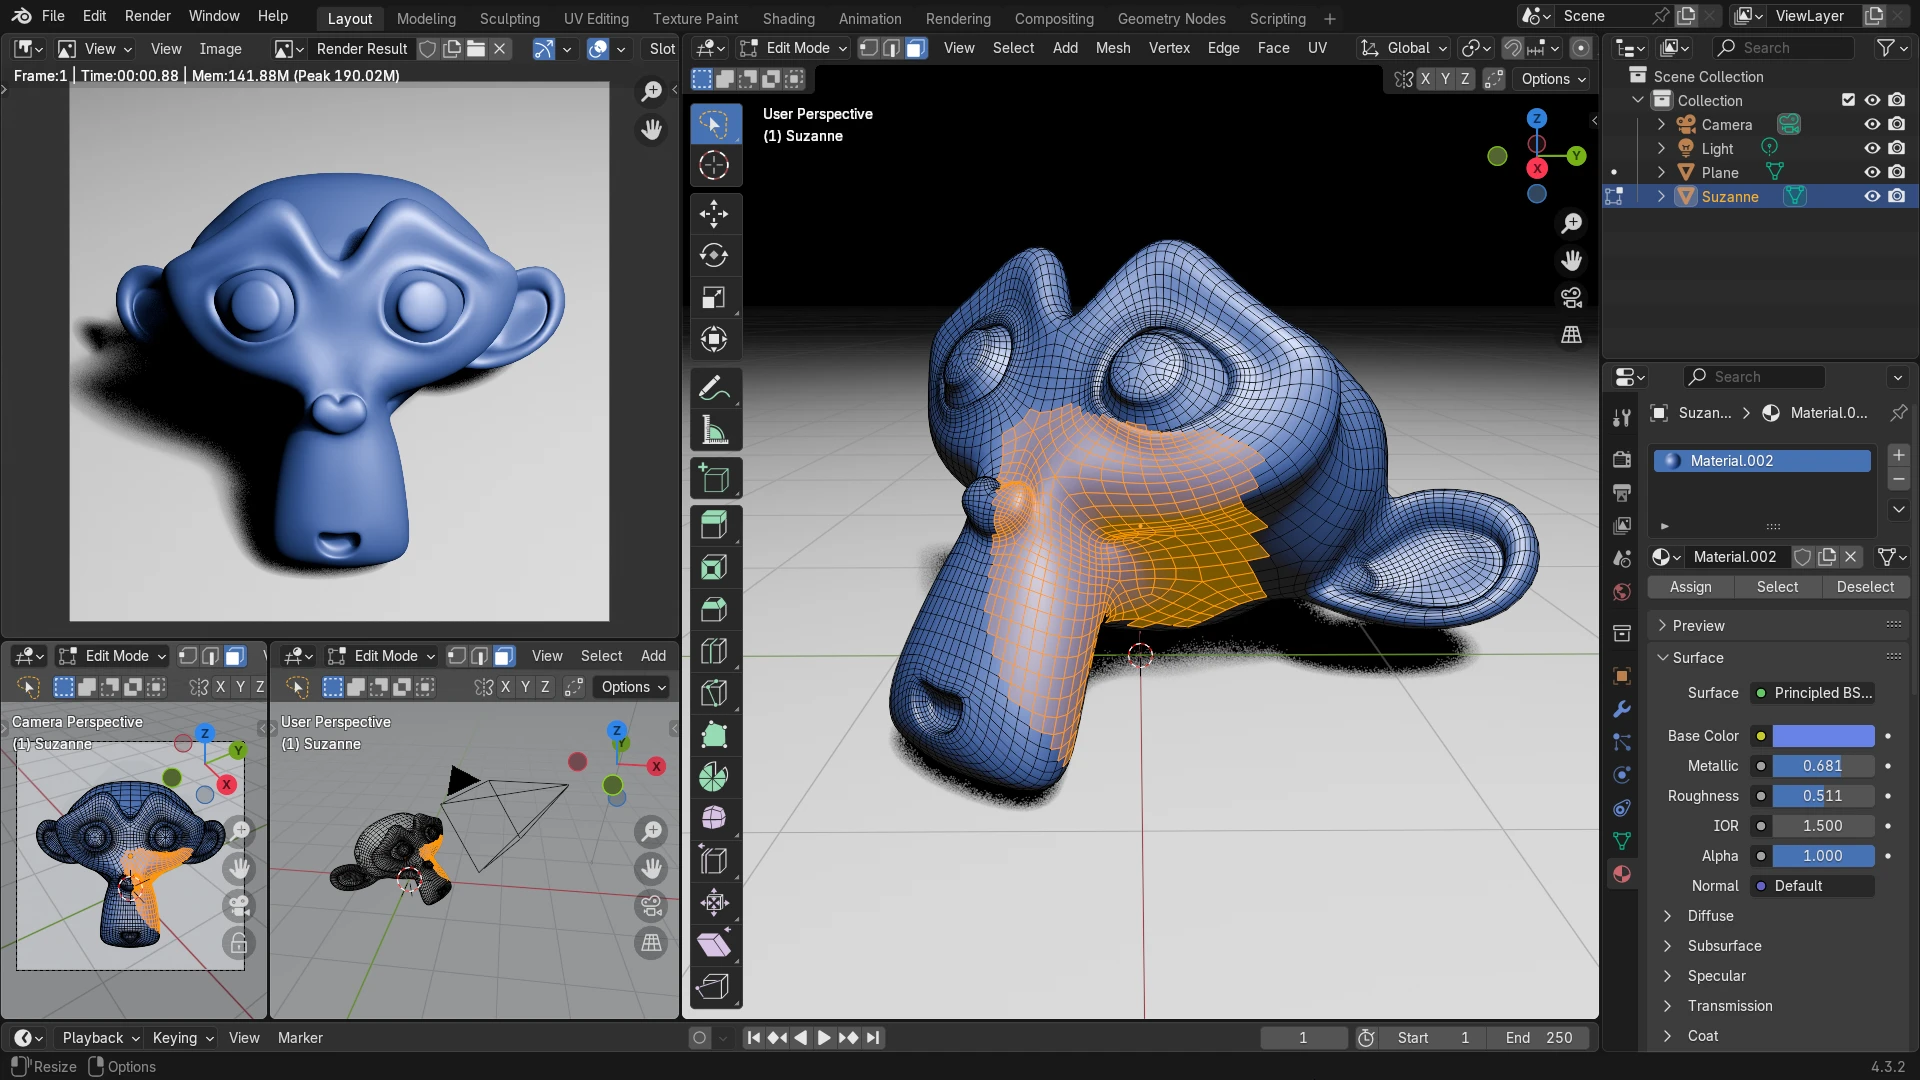
Manual modeling uses the photograph as a reference while you build the geometry. Blender’s modeling introduction describes starting with simple shapes and refining them. You decide what to preserve, simplify or redesign. For a part whose dimensions and fit matter, consider a CAD workflow based on measurements and constraints, rather than relying on the apparent proportions in a perspective photo.
In Blender, the built-in Suzanne model lets you compare the editable mesh with its rendered appearance.
Compare the inputs, effort and output
Scroll horizontally if needed to compare the three methods.
| Criterion | Single-photo AI | Photogrammetry | Manual modeling |
|---|---|---|---|
| Photos | One reference | Many overlapping views | References as needed |
| Hidden surfaces | Estimated | Need capture coverage | Built by the modeler |
| Dimensions | Must be checked | Need scale references and checks | Defined and checked explicitly |
| Time to budget | Preparation, generation, corrections | Capture, processing, cleanup | Construction, materials, checks |
| Equipment | Browser and hosted compute in Segmentit | Camera and processing environment | Computer and 3D or CAD editor |
| Export | GLB in Segmentit | Depends on the software | Depends on the editor |
This is a comparison of the work involved, not a timing benchmark. A generated model that needs extensive repair may take more effort than a simple object built by hand. Confirm hardware requirements and the destination’s file format before committing to a tool. Our GLB and OBJ guide explains that format choice; it does not mean every method or service exports both.
Choose an image, isolate an object and prepare your next steps in the Studio.
 Segmentit
Start now.
30+ creatorsStudioPhotogrammetry also needs a scale reference when real dimensions matter. Agisoft’s scale-bar guide explains using known distances to scale and check a model. Setting scale alone does not validate every surface or establish a general accuracy guarantee.
Choose by what the project needs
For a concept or a visual prototype, consider single-photo AI. Imagine testing whether a photographed armchair suits a virtual room. You mainly need to judge its silhouette and presence from the intended viewpoint. Accept the method only if estimated details are acceptable, and inspect the result before placing it in the scene.
For a faithful visual record of an accessible object, consider photogrammetry. If the chair’s worn upholstery and irregular wooden frame matter, photographing it from multiple positions gives you more evidence. Plan how to cover the back and underside. For measurement work, define and verify the required accuracy separately; more photos alone do not certify a model.
For controlled geometry or a designed part, consider manual modeling. If you need to change the chair’s dimensions, make repeated components consistent or design a mounting bracket, building from explicit dimensions may be more useful than preserving every visual irregularity. A photograph can guide appearance while measurements define the part.
These are editorial recommendations, not a ranking from a comparative test. Methods can be combined: a scan or generated object may become a reference for a cleaner model. The decision is whether that extra stage is worth the work for your intended result.
Prepare photos for the method you choose
For single-photo AI, pick a sharp image showing the whole subject and the important shape cues. A three-quarter view can make depth easier to read. Keep thin parts visible and separate the object from surrounding scenery. Follow the object photography guide and mask refinement guide before generating.
For photogrammetry, plan views around the object, with shared visible areas between neighboring images. Agisoft’s capture guidance emphasizes sharpness, diffuse lighting and coverage. For a mug, think beyond the outside wall: the rim, handle and underside each need attention. Follow your chosen software’s capture instructions; duplicating one photo does not provide a new viewpoint.
For manual modeling, collect references that answer specific questions: overall width, side profile, underside connections. Mark which dimensions you have measured and which details you are interpreting. If only a front photo exists, decide whether the unseen side can be designed freely or whether you need more reference material.
Where Segmentit fits
Segmentit follows the single-photo AI route. In the Studio, import a photo, select the object, correct its mask and explicitly request SAM 3D reconstruction. Inspect the resulting model and download the available GLB. The selection can also be exported as a transparent PNG.
Click selection uses SlimSAM in the browser, with WebGPU where available and a WASM/CPU fallback. Server-side SAM 3 analysis and SAM 3D reconstruction are separate operations that use credits. Generation is paid: check the plans, your account’s access and the cost displayed before each job. The SAM 3D online guide walks through this route.
Segmentit does not currently provide photogrammetry, multi-view reconstruction or a CAD editor. Its exports are GLB and transparent PNG; it does not offer native OBJ, STL, FBX or USDZ export. Choose another workflow when measured geometry, a specific engineering format or direct control over topology is essential.
Whichever route you take, use the model inspection checklist and test the file in its destination. Choosing a method does not establish commercial usage rights: review the source image’s rights and the relevant service terms, including Segmentit’s current terms, before deciding how to use a generated result.
Is one photo enough?
One photo can be enough to generate a plausible model; it is not enough to verify every hidden face or dimension. Choose single-photo AI when those estimates fit your goal. Capture more views when you need evidence about the real object, or model from measurements when you need to define its geometry deliberately.
Once that choice is made, continue with the 3D workflow guide to plan selection, inspection and the handoff to your destination software.