 Segmentit team
 Segmentit
Start with the subject
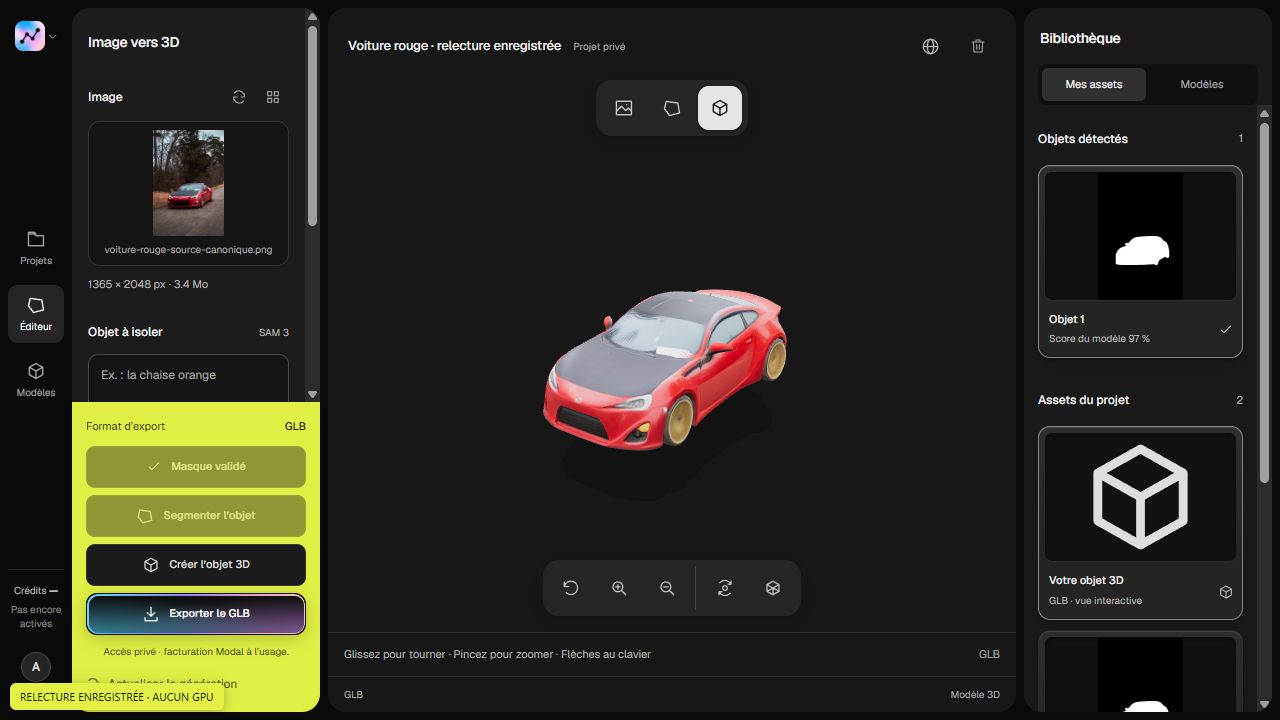
A segmentation mask separates the object you want to keep from the rest of the photograph. Check the entire silhouette: a piece of table can become part of the selection, while a missing handle removes useful visual information before reconstruction.
Click the object you want to isolate. Inspect the mask before converting: some background may have been included.
Refine without restarting
Add points to recover missing parts. Use exclusion points to indicate areas outside the subject. Make small changes and check their effect.
Check the details
Zoom into the Selection view. Inspect gaps between parts and erase remaining background. A clean mask does not guarantee the final geometry, but helps define what you want to reconstruct.
Select part of an object
An automatic selection may identify a whole lamp when you only want its shade. Place a point on the part to keep and exclude neighbouring areas. If the result remains too broad, draw a manual outline to define the intended region, then inspect the Selection view.
Exclusion points guide segmentation; they do not erase individual pixels. For a small, precise fragment, use the eraser. Reduce its size near edges and undo a stroke if it removes useful detail.
Which defects should you fix first?
| Visible issue | What to check |
|---|---|
| Background around the object | Remove detached fragments and surrounding scenery. |
| Missing parts | Inspect tips, legs, handles and antennas. |
| Filled gaps | Check inside handles and between separate elements. |
| Uneven edges | Compare with the photograph without erasing thin details. |
Before generating, return to an overall view. A carefully edited edge can look convincing up close while an important part is still missing. If the source is blurry or cropped, take a better reference photo instead of accumulating corrections.
Continue with the photo-to-3D guide and inspect the resulting model. A mask describes a silhouette, not the object’s hidden surfaces.