 Segmentit team
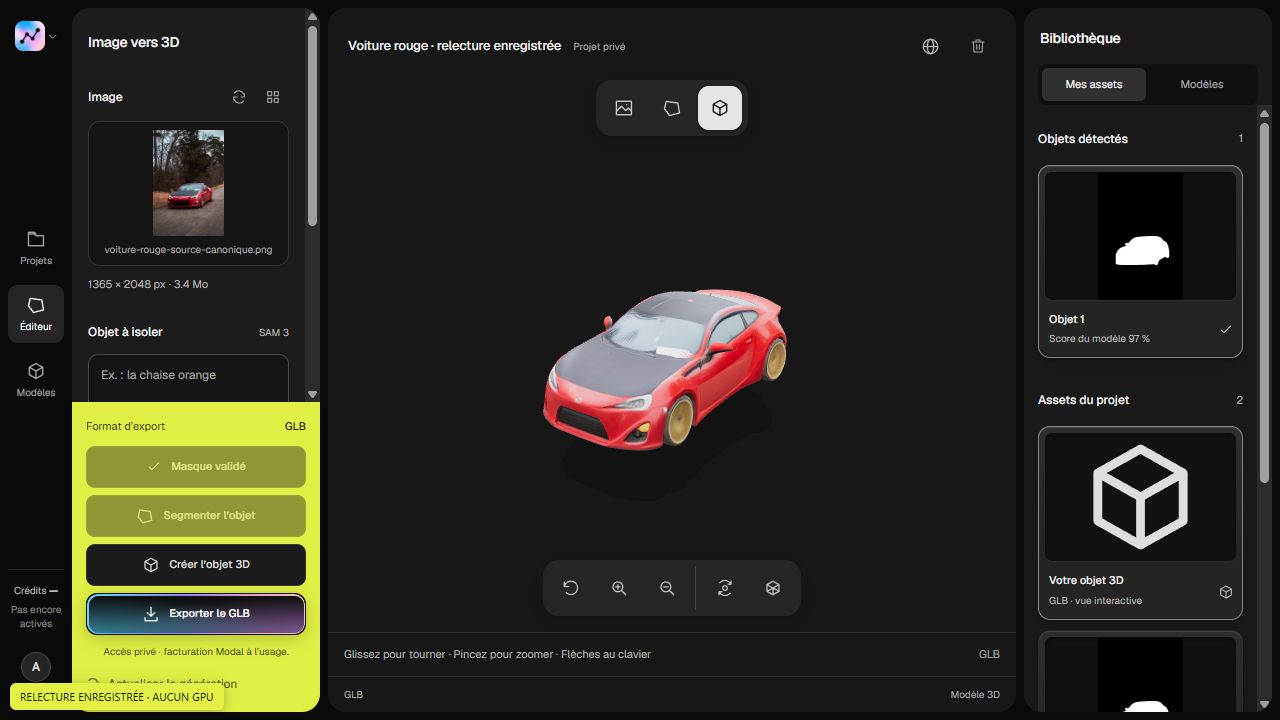
A photo can be the starting point for a game prop, an interior composition or a web scene. The work does not end when a model appears: a useful asset also needs the right scale, orientation and materials for its destination.
Selection and reconstruction are different steps
Selection identifies which object you want to use. It defines a silhouette in the image: the chair, rather than the rug or plant behind it. This does not create volume yet. Check legs, armrests and the empty spaces between parts.
Reconstruction then estimates a 3D shape. The official SAM 3D Objects repository describes a model that predicts geometry, texture and layout from an image. That describes a research method, not a guarantee for every photo or evidence that it is integrated into Segmentit.
Our object extraction page explains the first step in more detail.
Keep only the object you need. Check its edges before moving to 3D.
 Segmentit
Start now.
30+ creatorsStudioPick a photo that explains the shape
Imagine a chair photographed straight on. The backrest is clear, but the depth of the seat and the rear legs are less obvious. A three-quarter view may reveal more volume. Before reconstructing, ask what someone can actually understand from the photograph.
Do not confuse this workflow with multi-view capture. Adobe’s description of photogrammetry explains how features are matched across several photographs. A single image does not provide that coverage. Our object photography guide helps you choose a starting point.
| Step | What to check |
|---|---|
| Photo | A sharp, visible, well-lit subject. |
| Selection | The whole object without the background. |
| 3D model | Volume, hidden surfaces and textures. |
| Export | Scale and appearance in your software. |
Inspect what the photograph cannot show
A hidden surface must be inferred, not simply recovered. Rotate the object and examine its back, underside, thin parts and joins. A convincing front silhouette can hide less useful geometry elsewhere.
For the chair, check that the legs remain separate, the seat has plausible thickness and the backrest works from your intended camera angle. Your use case sets the standard: a distant background object and an object a player can inspect need different levels of scrutiny.
Prepare the asset for its destination
Keep a working version before exporting. Then check:
- Scale: use a measured dimension when real size matters.
- Orientation and pivot: the object should place and rotate as expected.
- Materials: check their appearance under the final scene’s lighting.
- Weight: review mesh and texture costs against your project’s constraints.
Export and reopen the file in the destination software. This test reveals missing texture files or unexpected orientation. The GLB or OBJ guide explains the format choice.
Start with the photo-to-3D example to explore the move from a flat reference to a manipulable object.
Can one photo become several 3D objects?
A photograph can provide several selections, such as a bottle and a glass. Prepare a separate mask for each object and inspect each before reconstruction. A single mask containing several objects expresses a different intention from a set of independent masks.
For edge corrections and background between subjects, follow the mask refinement guide. After generation, use the 3D model checklist before placing the asset in your scene.